Lab 04 - AI with REST API functions
Into this Lab we are going to develop a new JobType based on Rest API calls, for this scenario we are going to use a free Open API based on weather forescast. Click on to the following link. OpenWeather

This exercise will walk through:
- Setup an API Key for openweathermap.
- Create our Plug-in using REST API.
- Test the Plug-In.
- Work with Job properties.
- Publish & Deploy our new AI JobType.
Step 1 - Define an user and API Key for our AI JobType
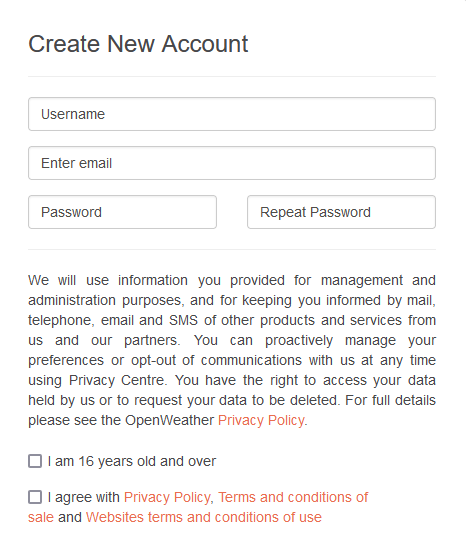
- Firts of all we need to set up an API Key in order to interact with the end point. Lets create an user account accross the link provide above.
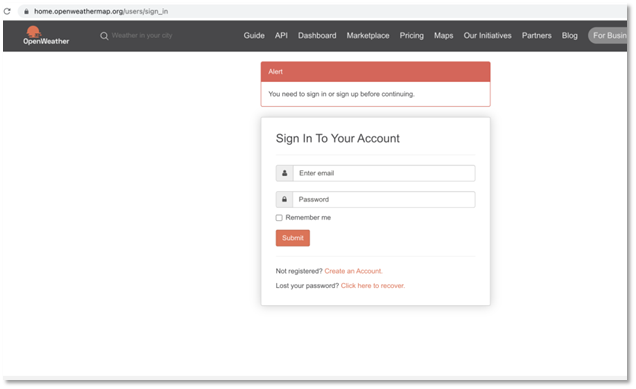
- Once you have signed up, log in with your user id and password
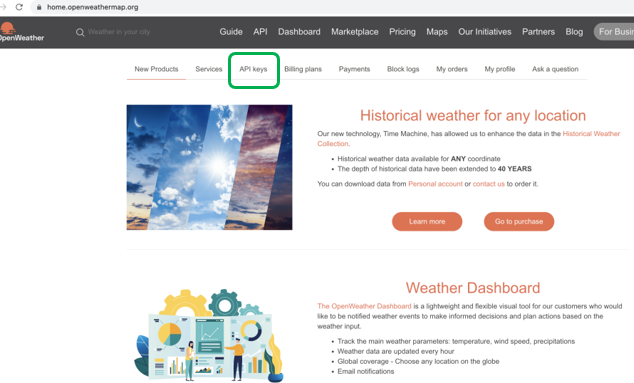
- Click on API Keys to generate our Key
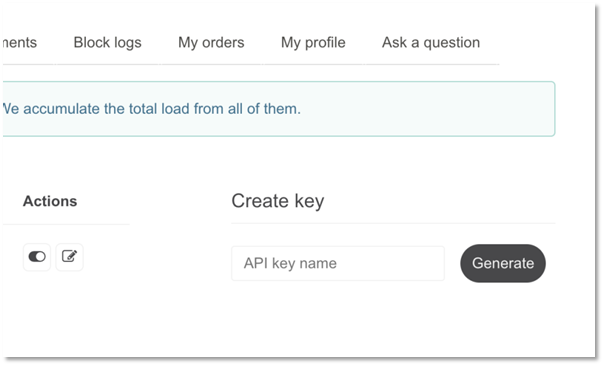
- Generate an API Key by entering a name and then clicking on "Generate".
Step 2 - Create our Plug-in using REST API
Having our API Key generated, lets go to our Application Integrator module.
-
Click on Add Plug-in and enter the following parameters:
- Plug-In Name: AAPIWEATHER
- Plug-In ID: (Ensure the Plug-In ID is filled automatically)
- Steps Default Interface: REST API
- Description: Fill as your choice (for example; Get weather from cities)
- Application Support Team: <your_name>
- Application Support Email: <your_email>
-
Click on Save
-
Now having your Tab AAPIWEATHER opened click on Attribute Management in order to define our Connection Profile.

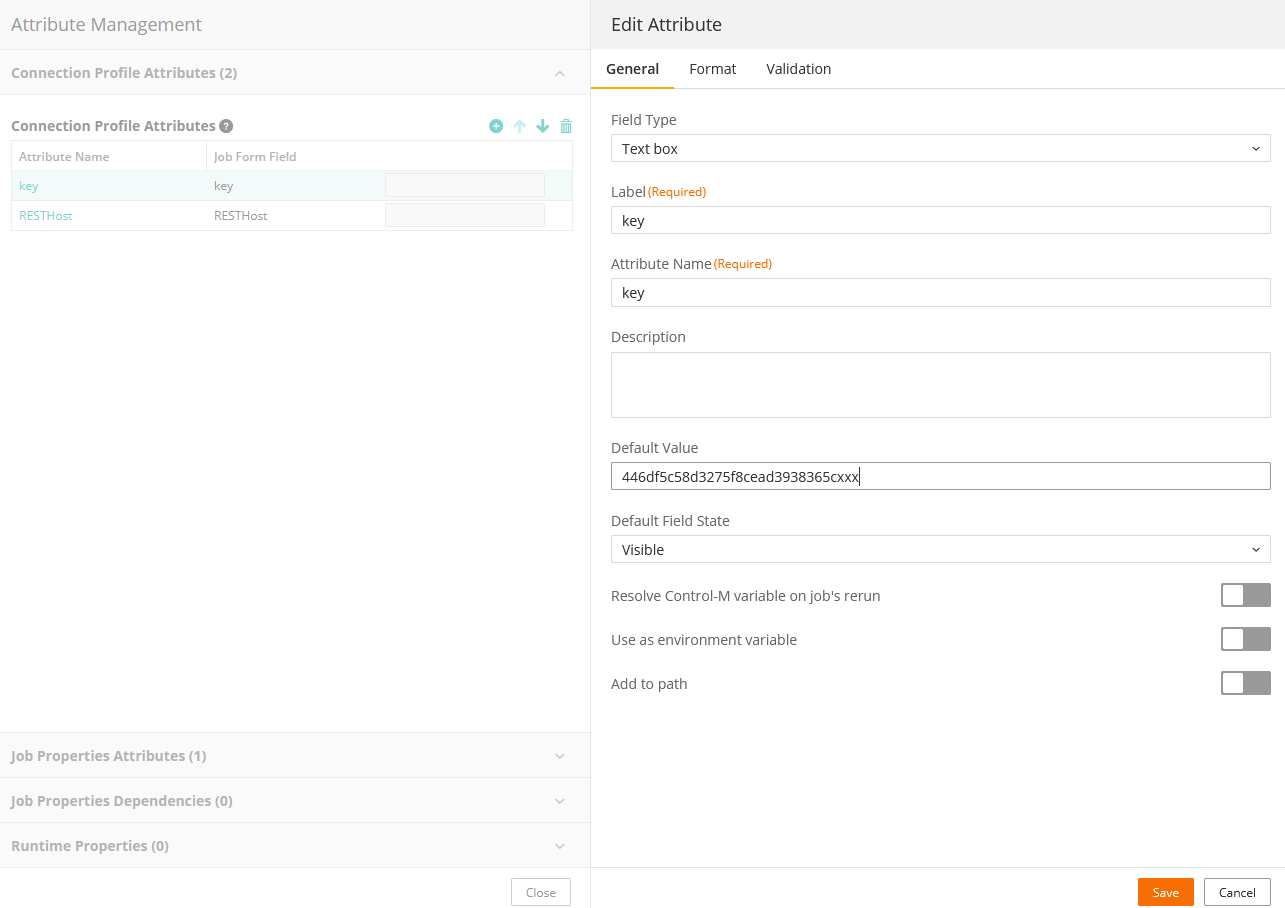
- Under the section Connection Profile Attributes click on + icon and add the following values:
- Field Type: Text Box
- Label: key (in lowercase)
- Attribute Name: key
- Default Value: Set the API Key as the default value according to value that is retrieved in section 4 of the Step 1.
-
Click on Add
-
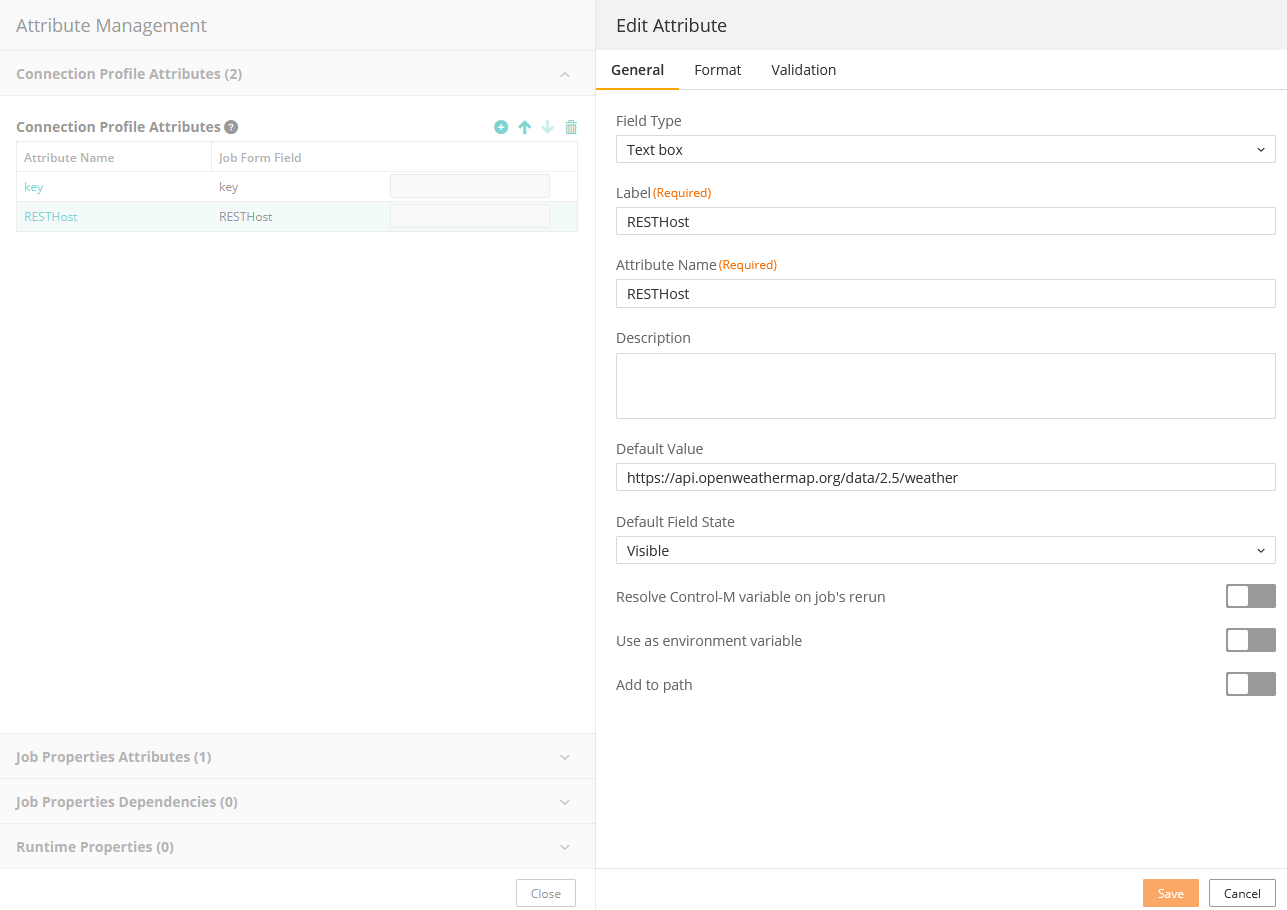
Under the section Connection Profile Attributes add a new parameter using the icon + and insert the following values:
- Field Type: Text Box
- Label: RESTHost
- Attribute Name: RESTHost
- Default Value: https://api.openweathermap.org/data/2.5/weather
-
Click on Add
-
Into the left side under the Plug-In Execution Steps edit the Execution Step and name it "GET Weather" (Click on the pencil) and Save it.
-
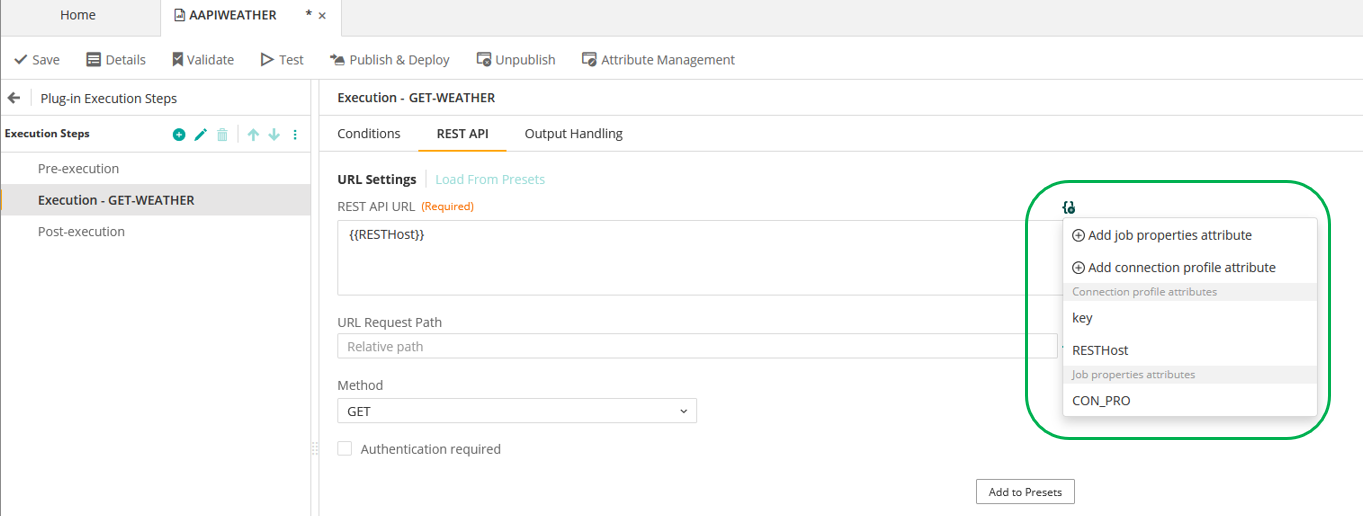
On the right panel click on REST API and under the REST API URL put the following value:
- {{RESTHost}}
Note: You can also use the icon Insert Attribute to select one of the attributes defined into the previous steps (as the image below).
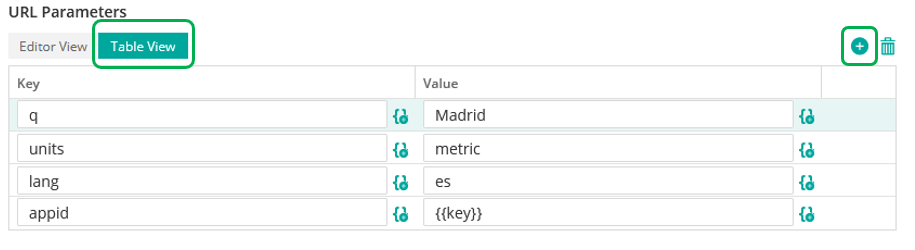
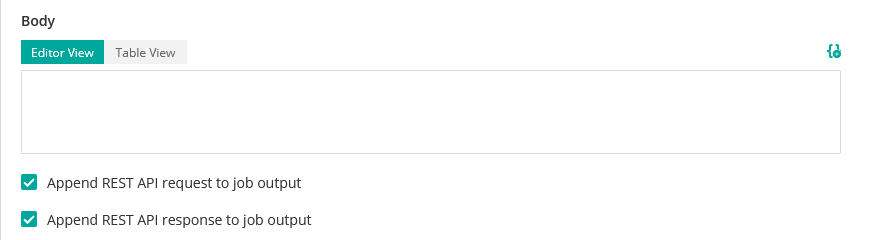
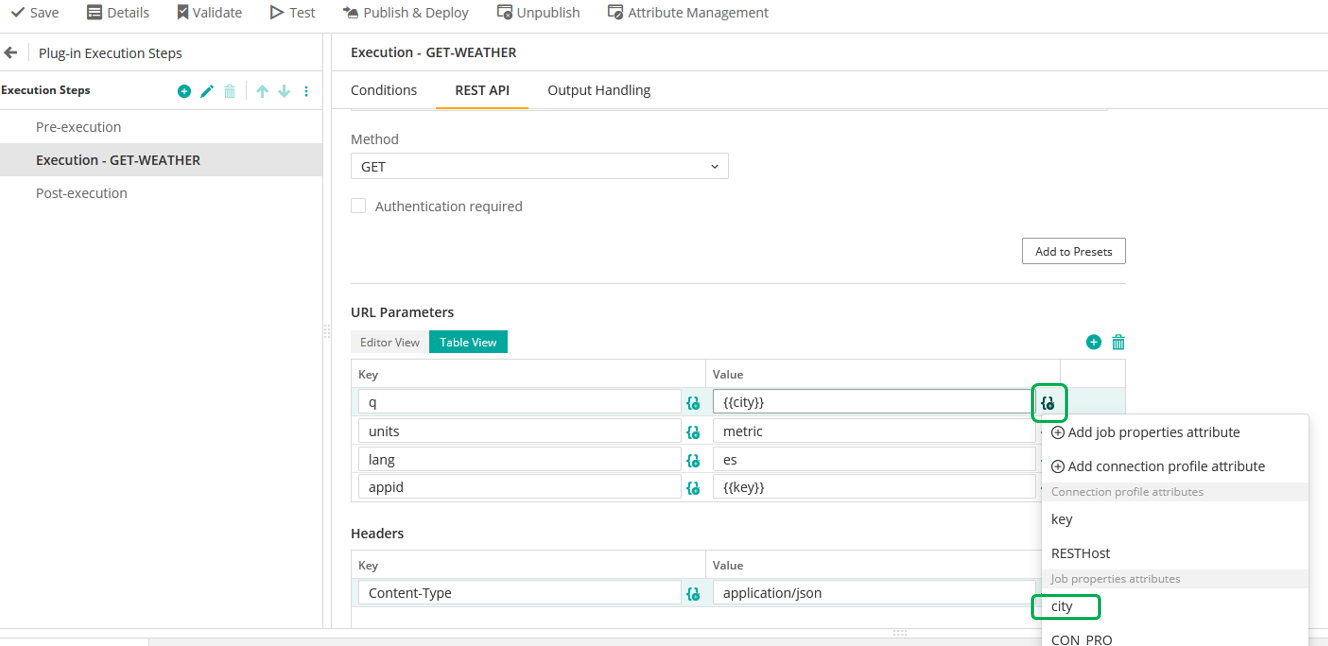
- Scroll down and into the URL Parameters click on Table View and add the following Keys using the + button.
- q --> Madrid
- units --> metric
- lang --> es
- appid --> {{key}}
- Finally enable the option Append REST API response to job output
- Click on Validate in order to verify if we have configuration erros.

- Click on Save

Step 3 - Test the Plug-In.
We proceed to test our AI Jobtype.
- Click on Test icon.
- Under the Test Definition section select the agent that we used to deploy our firts JobType (AAPICLI) and ensure the params key and RESTHost has the default values that we included into the previous steps.
- Click on Run Test
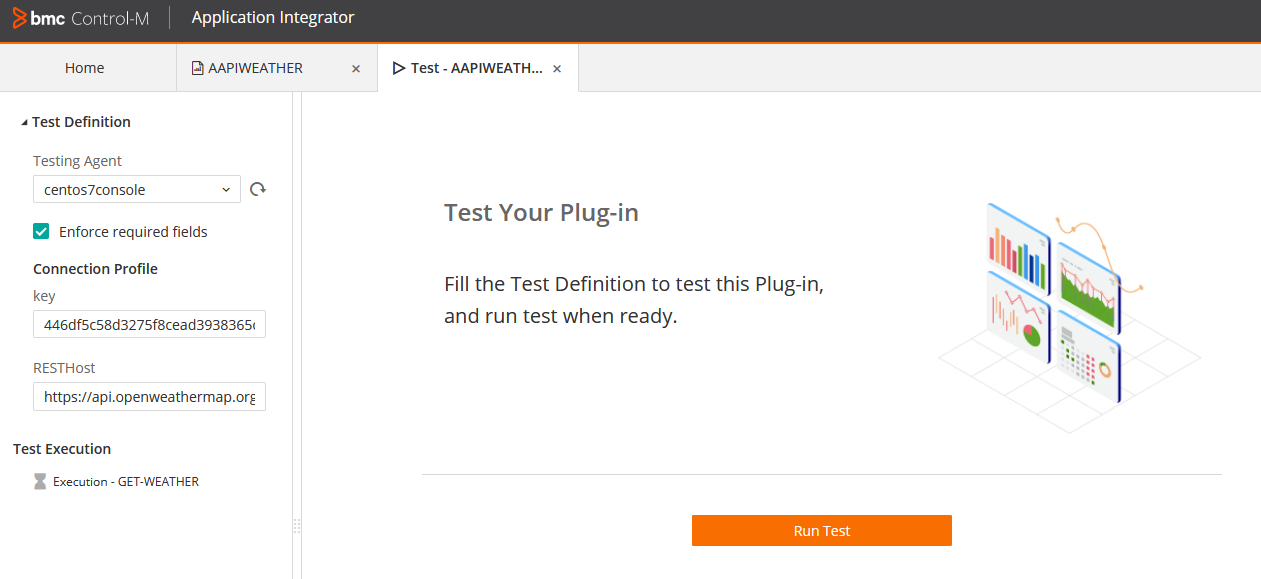
- Into the Execution - GET WEATHER log expand the REST Response and we will see we are able to retreive the weather from Madrid (statusCode 200) obtaining values like the temperature, humidity, wind speed etc.

Step 4 - Work with Job properties.
Into this steps lets modify our AI JobType so that users in Control-M can enter their city.
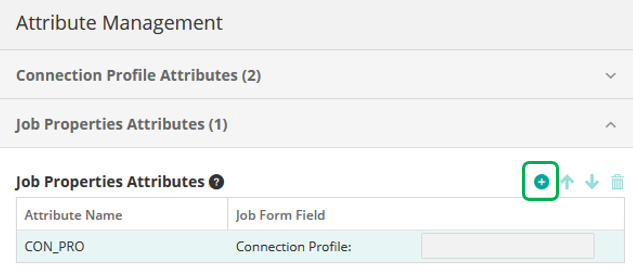
- Go back to our AI JobType AAPIWEATHER and click on Atribute Management
- Under the section Job Properties Attributes click on + icon to define a new Job Attribute:
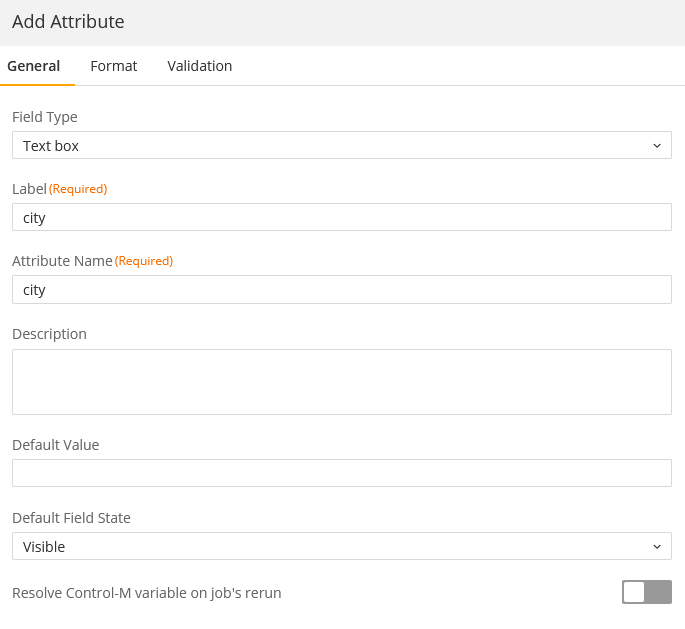
- Insert the following information into the General Tab:
- Field Type: Text Box
- Label: Ciudad
- Attribute Name: city
- Select the Validation Tab and define the following configuration:
- Valid Values: Letters Only
- Mandatory Field (non empty): Enabled
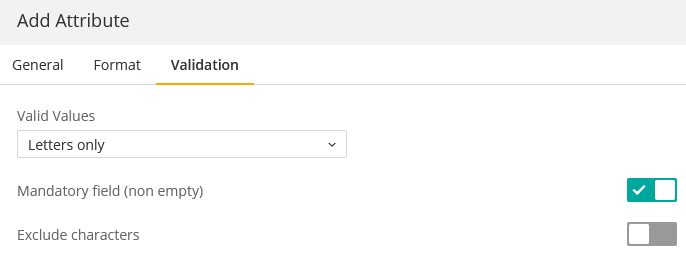
- Click on Save
- Close the Attribute Management Tab.
- Select the Execution Step Execution - GET WEATHER click on REST API and scroll down to the URL Parameters and modify the Key "q" with our new Job Attribute:
- Click on Validate
- Click on Save
Step 5 - Publish & Deploy our new AI JobType.
Let publish and deploy the new Plug-in into Control-M environemnt.
- Click on Publish & Deploy and expand the Agents available and select the designated agent to deploy our Plug-In and click on Apply
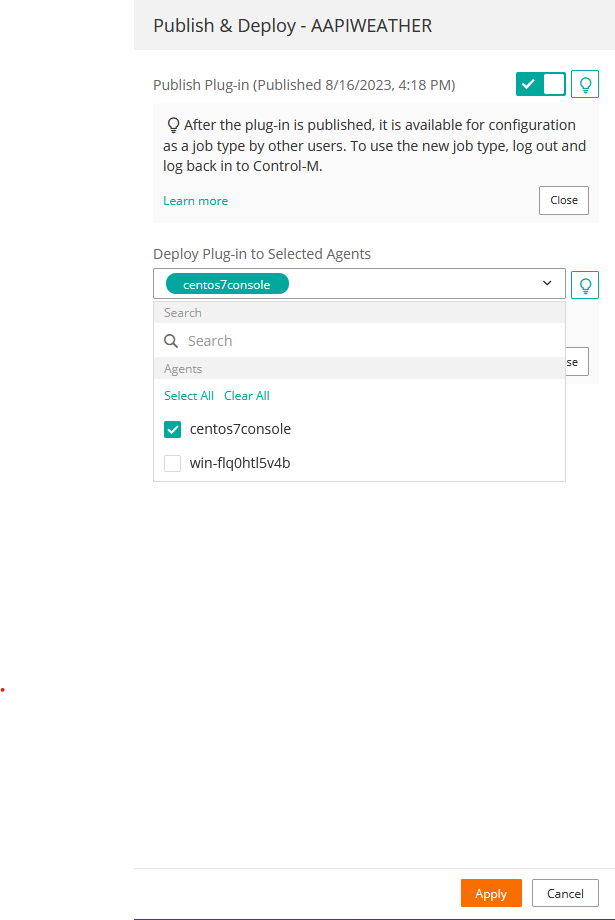
- Our Plug-in will be published and deployed into our Agent.

Summary
In completing this lab, now you have the knowledge to run your Application Integrator JobTypes in Control-M using REST API functions. Please continue to Lab 05 Run Applitation Integrator REST API JobType in Control-M.